VCT Tile Cleaning, Sealing with Sealer Coating with Wax and Buffing Instructions
Step-by-Step: Waxing New VCT Floors Like a Pro
It’s easy to assume that brand-new floors are ready for anything. After all, they’re new. But when it comes to Vinyl Composition Tile (VCT), that fresh-from-the-box appearance is a bit deceiving. Your new tiles come with a temporary factory finish designed to protect them during shipping, not for long-term wear. Attempting to apply wax directly over this coating is one of the most common and costly mistakes we see. The new finish will fail to bond, leading to peeling, clouding, and a finish that looks old before its time. The process of properly waxing new VCT floors starts with removing that seal to create a clean slate for a durable, long-lasting shine.
Key Takeaways
- How to clean daily or weakly
- Proper prep is everything: Always remove the temporary factory finish from new VCT before applying wax. This crucial first step ensures your new finish adheres correctly, preventing future peeling, flaking, and cloudiness.
- Layering is key for durability: A professional, long-lasting shine comes from building thin, even coats. Apply a sealer first to prime the floor, then add several layers of wax, allowing each one to dry completely for a stronger finish.
- Create a maintenance plan: The work isn’t over after the final coat. Protect your newly waxed floors with a routine cleaning schedule tailored to your foot traffic, including daily sweeping and periodic buffing to maintain the shine.
Cleaning Vinyl Composition Tile
- Dry Mop: Use a microfiber dust mop daily to remove abrasive grit and loose dirt that act like sandpaper.
- Wet Mop: Use a pH-Neutral Floor Cleaner and a damp mop. For best results, use a two-bucket system so cleaning solution and dirty water are separated.
Choose the best floor sealer and wax
The products you put on your floor are just as important as the tools you use to apply them. For the best results, you’ll want both a floor sealer and a high-quality floor finish, which is often called wax. The sealer acts as a primer, creating a strong bond with the tile and providing a uniform surface for the wax. A good rule of thumb is to apply two thin coats of sealer first. After the sealer is completely dry, you can begin applying the floor finish. Plan on four to six thin coats of a durable wax, like products from Betco or Buckeye, to build up a protective, glossy layer.
How to clean and prepare new VCT floors
Before you even think about applying that first coat of wax, you need to give your new VCT floors some attention. It might seem counterintuitive to clean something that’s brand new, but this step is non-negotiable for a professional finish. New VCT comes with a thin factory finish, a protective coating applied during manufacturing to prevent damage during shipping and installation. This coating is not meant to be a permanent part of your floor; in fact, it actively repels floor wax.
If you apply wax directly over this factory seal, you’ll end up with a finish that peels, yellows, or looks cloudy within weeks. Proper preparation involves completely removing that seal, along with any adhesive residue, dirt, or scuffs left over from the installation process. This creates a clean, porous surface that allows the new sealer and wax to bond correctly. Think of it as priming a wall before you paint. It’s the foundational work that ensures a beautiful, durable, and long-lasting result. Taking the time to properly clean and prepare the surface will save you countless hours and the expense of stripping and refinishing your floors prematurely.
Gather your cleaning products and tools
First things first, let’s get your supplies in order. You don’t need anything too aggressive for this job. In fact, harsh chemicals can damage new VCT, so it’s best to stick with milder solutions. A good quality, pH-neutral floor cleaner is usually the perfect choice. If you’re dealing with a particularly stubborn factory finish, a light degreaser or a very diluted floor stripper (about one part stripper to ten parts water) can also work well.
You will also need a low-speed floor buffer or auto-scrubber with a blue or green cleaning pad, a wet-dry vacuum for removing the slurry, and a clean mop and bucket for rinsing. Having the right equipment makes the job much easier and more effective than trying to scrub by hand.
Clean your floors step-by-step
With your tools ready, it’s time to get cleaning. Start by sweeping or dust-mopping the entire floor to pick up any loose dirt and debris. Next, apply your chosen cleaning solution according to the manufacturer’s instructions. Let it sit for a few minutes to break down the factory finish. Then, use your floor buffer to scrub the entire area thoroughly, working in a systematic pattern to ensure you cover every tile. You’ll see the factory coating and any grime lift away.
Once you’ve scrubbed the floor, use the wet-dry vacuum to remove all the dirty solution. The final cleaning step is a thorough rinse. Mop the floor with clean, cool water to remove any leftover cleaning residue. This is a critical part of our commercial cleaning services, as any remaining film can prevent the wax from adhering properly.
Ensure the floor is completely dry
Patience is key for this final preparation step. Before you even think about opening a container of sealer or wax, the VCT floor must be 100% dry. Any moisture trapped underneath the wax will cause a hazy or cloudy appearance and can lead to peeling and adhesion failure. It’s a common mistake that can ruin an otherwise perfect finish.
Apply the floor sealer
Think of floor sealer as the primer for your VCT. It creates a smooth, non-porous surface for the wax to stick to, ensuring a more even and long-lasting finish. Sealer also protects the tiles themselves from stains and scuffs. You’ll want to apply at least two thin coats for proper coverage. Always follow the manufacturer’s instructions on the product label, as drying times can vary. Some sealers need to cure for a specific period before you can move on to the next step, so patience is key to achieving a professional-grade hard floor cleaning service result.
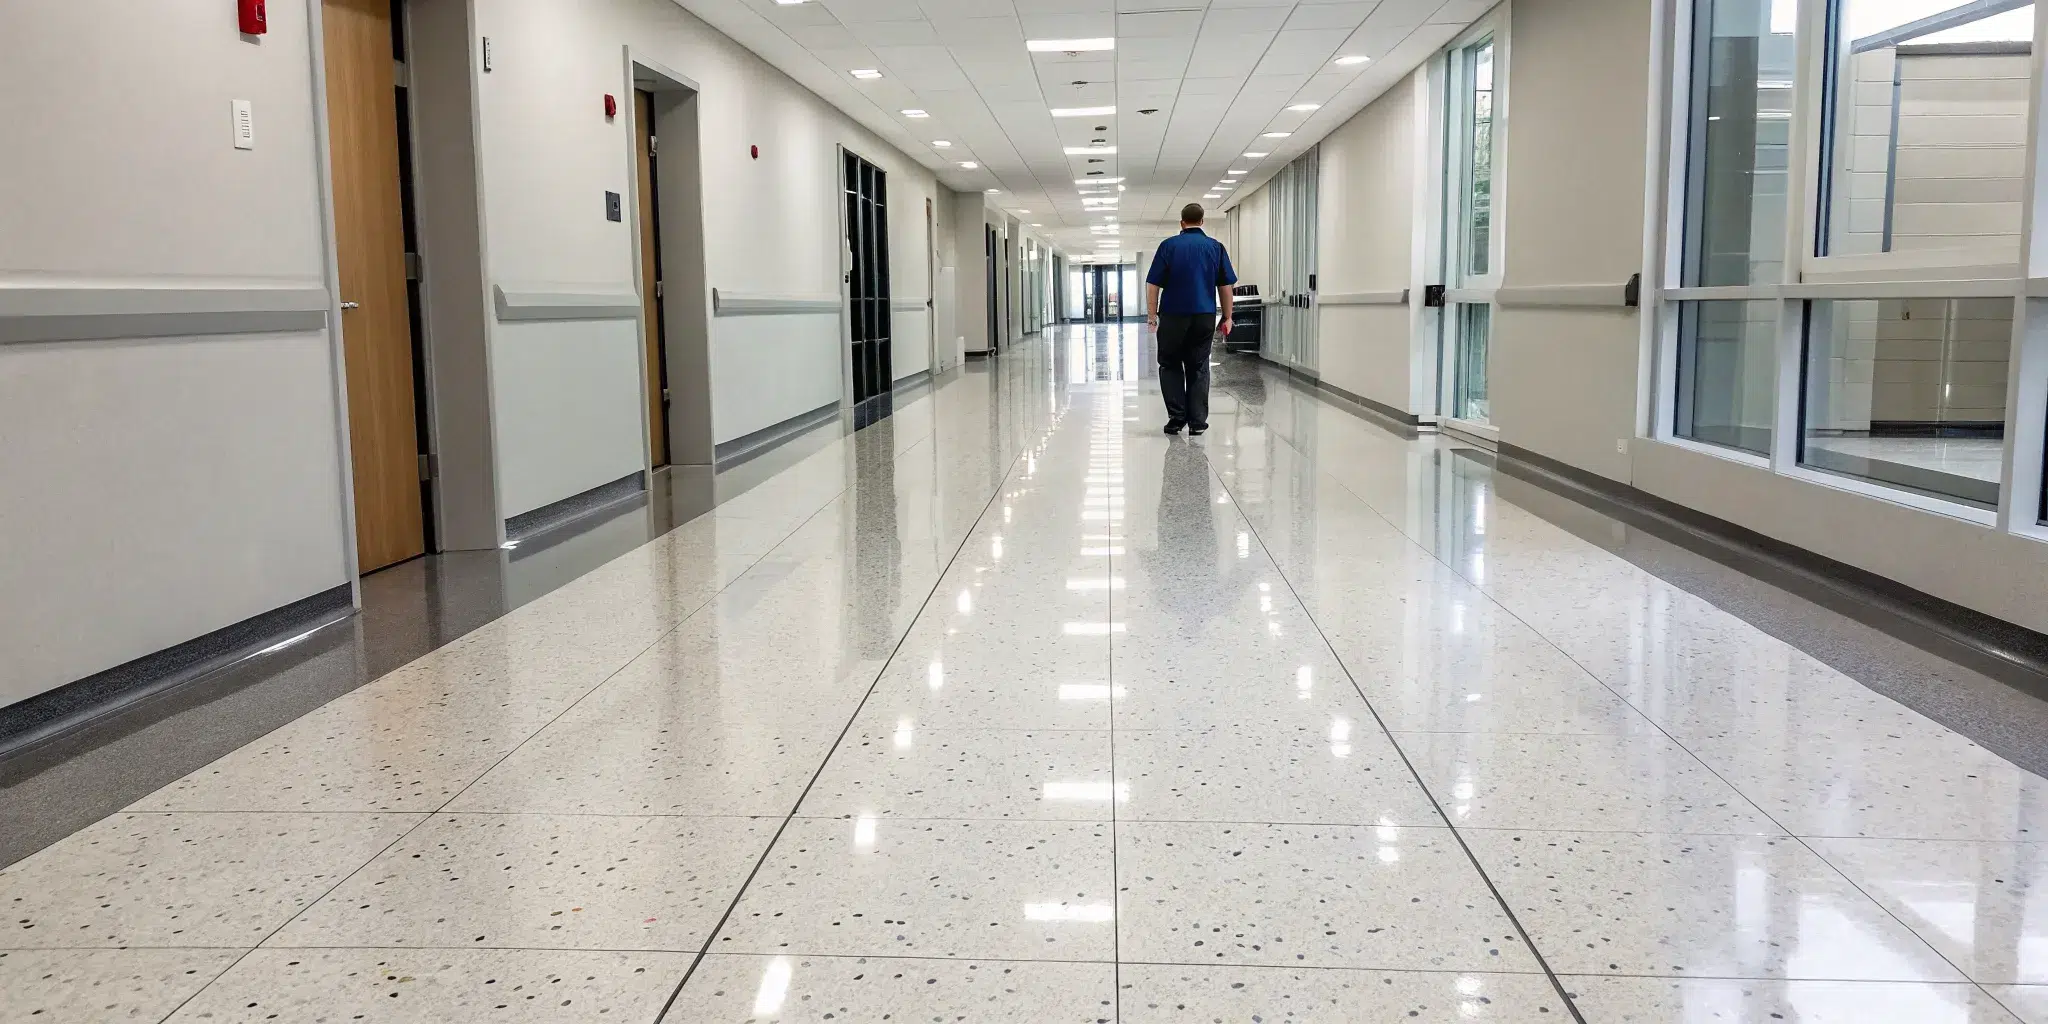
Applying floor sealer and finish (wax) to Vinyl Composition Tile (VCT) creates a glossy, durable protective layer.
-
- Method: Use a clean, lint-free microfiber or rayon mop. Lightly soak the mop in sealer and ring out any excess so it does not drip.
- Application: Start by framing out the edges of a section, then apply the sealer using overlapping “figure-eight” strokes.
- Drying: Allow each coat of sealer to dry completely (usually 30 to 60 minutes). Apply a second coat if necessary, following the manufacturer’s directions.
Apply the Wax (Floor Finish)
Find the right waxing equipment
To get that professional-grade finish, you’ll need more than just a mop and bucket. Your essential toolkit should include a low-speed floor buffer (around 175 RPM), two separate mop buckets with wringers (one for your cleaning solution and one for clean rinse water), and a dedicated rayon mop head for applying the finish. It’s also crucial to have plenty of “Wet Floor” signs to ensure safety. When it comes to the floor buffer, the pad you choose matters. Opt for soft scrubbing pads like green, blue, or red ones. You should absolutely avoid black pads, as they are far too abrasive for new VCT and can leave deep scratches and black residue behind.
- Method: Use a dedicated, clean wax applicator or flat mop system. Pour the wax directly into a clean bucket with a wringer.
- Application: Apply the wax in thin, even coats. Do not apply it too heavily, as this can cause streaking and dull spots. Always start at the point farthest from your exit and work backward so you do not box yourself in.
- Drying Time: Allow 30 to 45 minutes of drying time between each coat. Test if it’s dry by touching it; if it is sticky or leaves a fingerprint, it is not ready.
- Coats: Apply 3 to 5 thin coats for heavy-traffic areas, allowing sufficient dry time for each.
- Curing: Let the final coat of wax cure undisturbed for at least 12–24 hours before replacing furniture or allowing heavy foot traffic.
Use the correct waxing technique
Once your sealer is completely dry, it’s time to apply the wax, also known as floor finish. Using a clean microfiber mop or a dedicated wax applicator is your best bet for a smooth result. Start at the corner farthest from the door and work your way out of the room. Apply a thin, even layer of wax using a figure-eight motion. This technique helps prevent streaks and ensures you don’t miss any spots. The goal is a consistent, light coat. Piling on a thick layer will only lead to longer drying times and a weaker, uneven finish.
Apply coats and allow for proper drying time
One coat of wax isn’t enough to protect high-traffic commercial floors. For a truly durable shine, plan on applying three to five thin coats. The most important rule is to let each coat dry completely before applying the next. Rushing this process can trap moisture, resulting in a cloudy or tacky finish that wears away quickly. Check the manufacturer’s guidelines for recommended drying times, and be aware that humidity can slow things down. After the final coat, give the floor ample time to cure before allowing foot traffic. This final step is essential for proper floor care and longevity.
How to get an even and durable wax finish
Once your new VCT floor is perfectly clean and dry, you’re ready for the final and most rewarding part: applying the wax. This is where the magic happens, transforming your dull tiles into a glossy, protected surface. But getting that smooth, long-lasting shine isn’t just about slathering on some wax. It requires a specific technique and patience. A well-executed finish not only looks fantastic but also creates a durable shield that protects your investment from daily foot traffic, scuffs, and spills.
Apply wax for smooth coverage
The secret to a durable finish starts before you even open the wax. First, apply two thin coats of a quality floor sealer. Think of the sealer as a primer; it creates the perfect surface for the wax to adhere to, ensuring a stronger bond and a more even appearance. Once the sealer is completely dry, you can begin applying the floor finish, or wax. The goal is to build up protection with four to six thin, even coats. Applying multiple thin layers is much more effective than one or two thick ones, as it prevents pooling and ensures each layer cures properly.
Buff the floor for a high-gloss shine
For that professional, mirror-like shine, buffing is a crucial step. After your final coat of wax has fully cured, use a floor machine with the appropriate buffing pad to go over the entire surface. Buffing does more than just make the floor shiny; it helps harden and cure the wax, blending the layers together into a single, solid protective sheet. This process smooths out any minor imperfections and significantly increases the floor’s durability and resistance to scuffs. The result is a brilliant, high-gloss finish that looks clean and professional.
Avoid these common waxing mistakes
Even with the best intentions, a few common mistakes can ruin your VCT floor finish. The most frequent error is improper cleaning. If you don’t get the floor perfectly clean before you start, you’ll trap dirt and debris under the sealer, which will prevent the new wax from sticking correctly and create a bumpy, uneven look. Another major issue is failing to completely rinse away cleaning chemicals. Any residue left on the floor can react with the new finish, causing it to look cloudy or peel away. Proper hard floor cleaning is essential to ensure your new wax has a pure, stable foundation to bond with.
How often should you maintain waxed VCT floors?
Once you’ve applied that beautiful, glossy finish, the next step is to keep it looking its best. A consistent maintenance routine is key to protecting your VCT floors and extending the life of the wax. But how often is “often enough”? There isn’t a single answer that fits every facility. The right schedule depends entirely on your specific environment, how much use the floors get, and the quality of your daily upkeep. The goal is to find a rhythm that prevents the wax from wearing down to the tile itself, which can lead to permanent damage and costly replacement.
Regular care, like daily sweeping and weekly mopping with a pH-neutral cleaner, is your first line of defense against grit and grime. Beyond that, you’ll need a plan for more intensive tasks like periodic buffing to restore shine, recoating high-traffic areas, and eventually, a full strip and wax to remove old, discolored layers. By paying attention to a few key factors, you can create a maintenance schedule that keeps your floors protected and looking professional without wasting time or resources. This proactive approach not only saves you from expensive repairs but also ensures your facility always makes a great first impression on clients and employees.
Match your maintenance schedule to foot traffic
The amount of foot traffic your floors handle is the single biggest factor in determining your maintenance schedule. A quiet office corridor simply won’t need the same level of attention as the main entrance of a busy medical facility or school. As a general rule, you should plan to strip and wax your floors every 6 to 12 months, but you’ll need to adjust this based on traffic and the quality of your daily cleaning. High-traffic zones may require more frequent buffing or an extra coat of wax between full stripping jobs to keep the finish intact and shiny.
Look for signs of wear and tear
Your floors will tell you when they need attention. Make it a habit to visually inspect your VCT, especially in high-use areas. Over time, old wax gets dull, changes color, and can even peel, making the floor look bad and easier to damage. Look for tell-tale signs like a yellowish tint, deep scuffs that won’t buff out, or areas where the finish looks thin and worn. When you start seeing these issues, it’s a clear signal that the protective wax layer is compromised and it’s time for a recoat or a full strip and wax service.
Create a regular maintenance plan
The best way to protect your flooring investment is to create a proactive maintenance plan. The exact time between stripping and waxing depends on how many people walk on the floor, what cleaning products are used, and how good the floor looks overall. Your plan should outline daily tasks like dust mopping, weekly tasks like damp mopping with a neutral cleaner, and periodic tasks like spray buffing. Documenting this schedule helps ensure consistency. A comprehensive plan for hard floor cleaning not only keeps your VCT looking pristine but also prevents dirt from grinding into the wax, extending its life significantly.