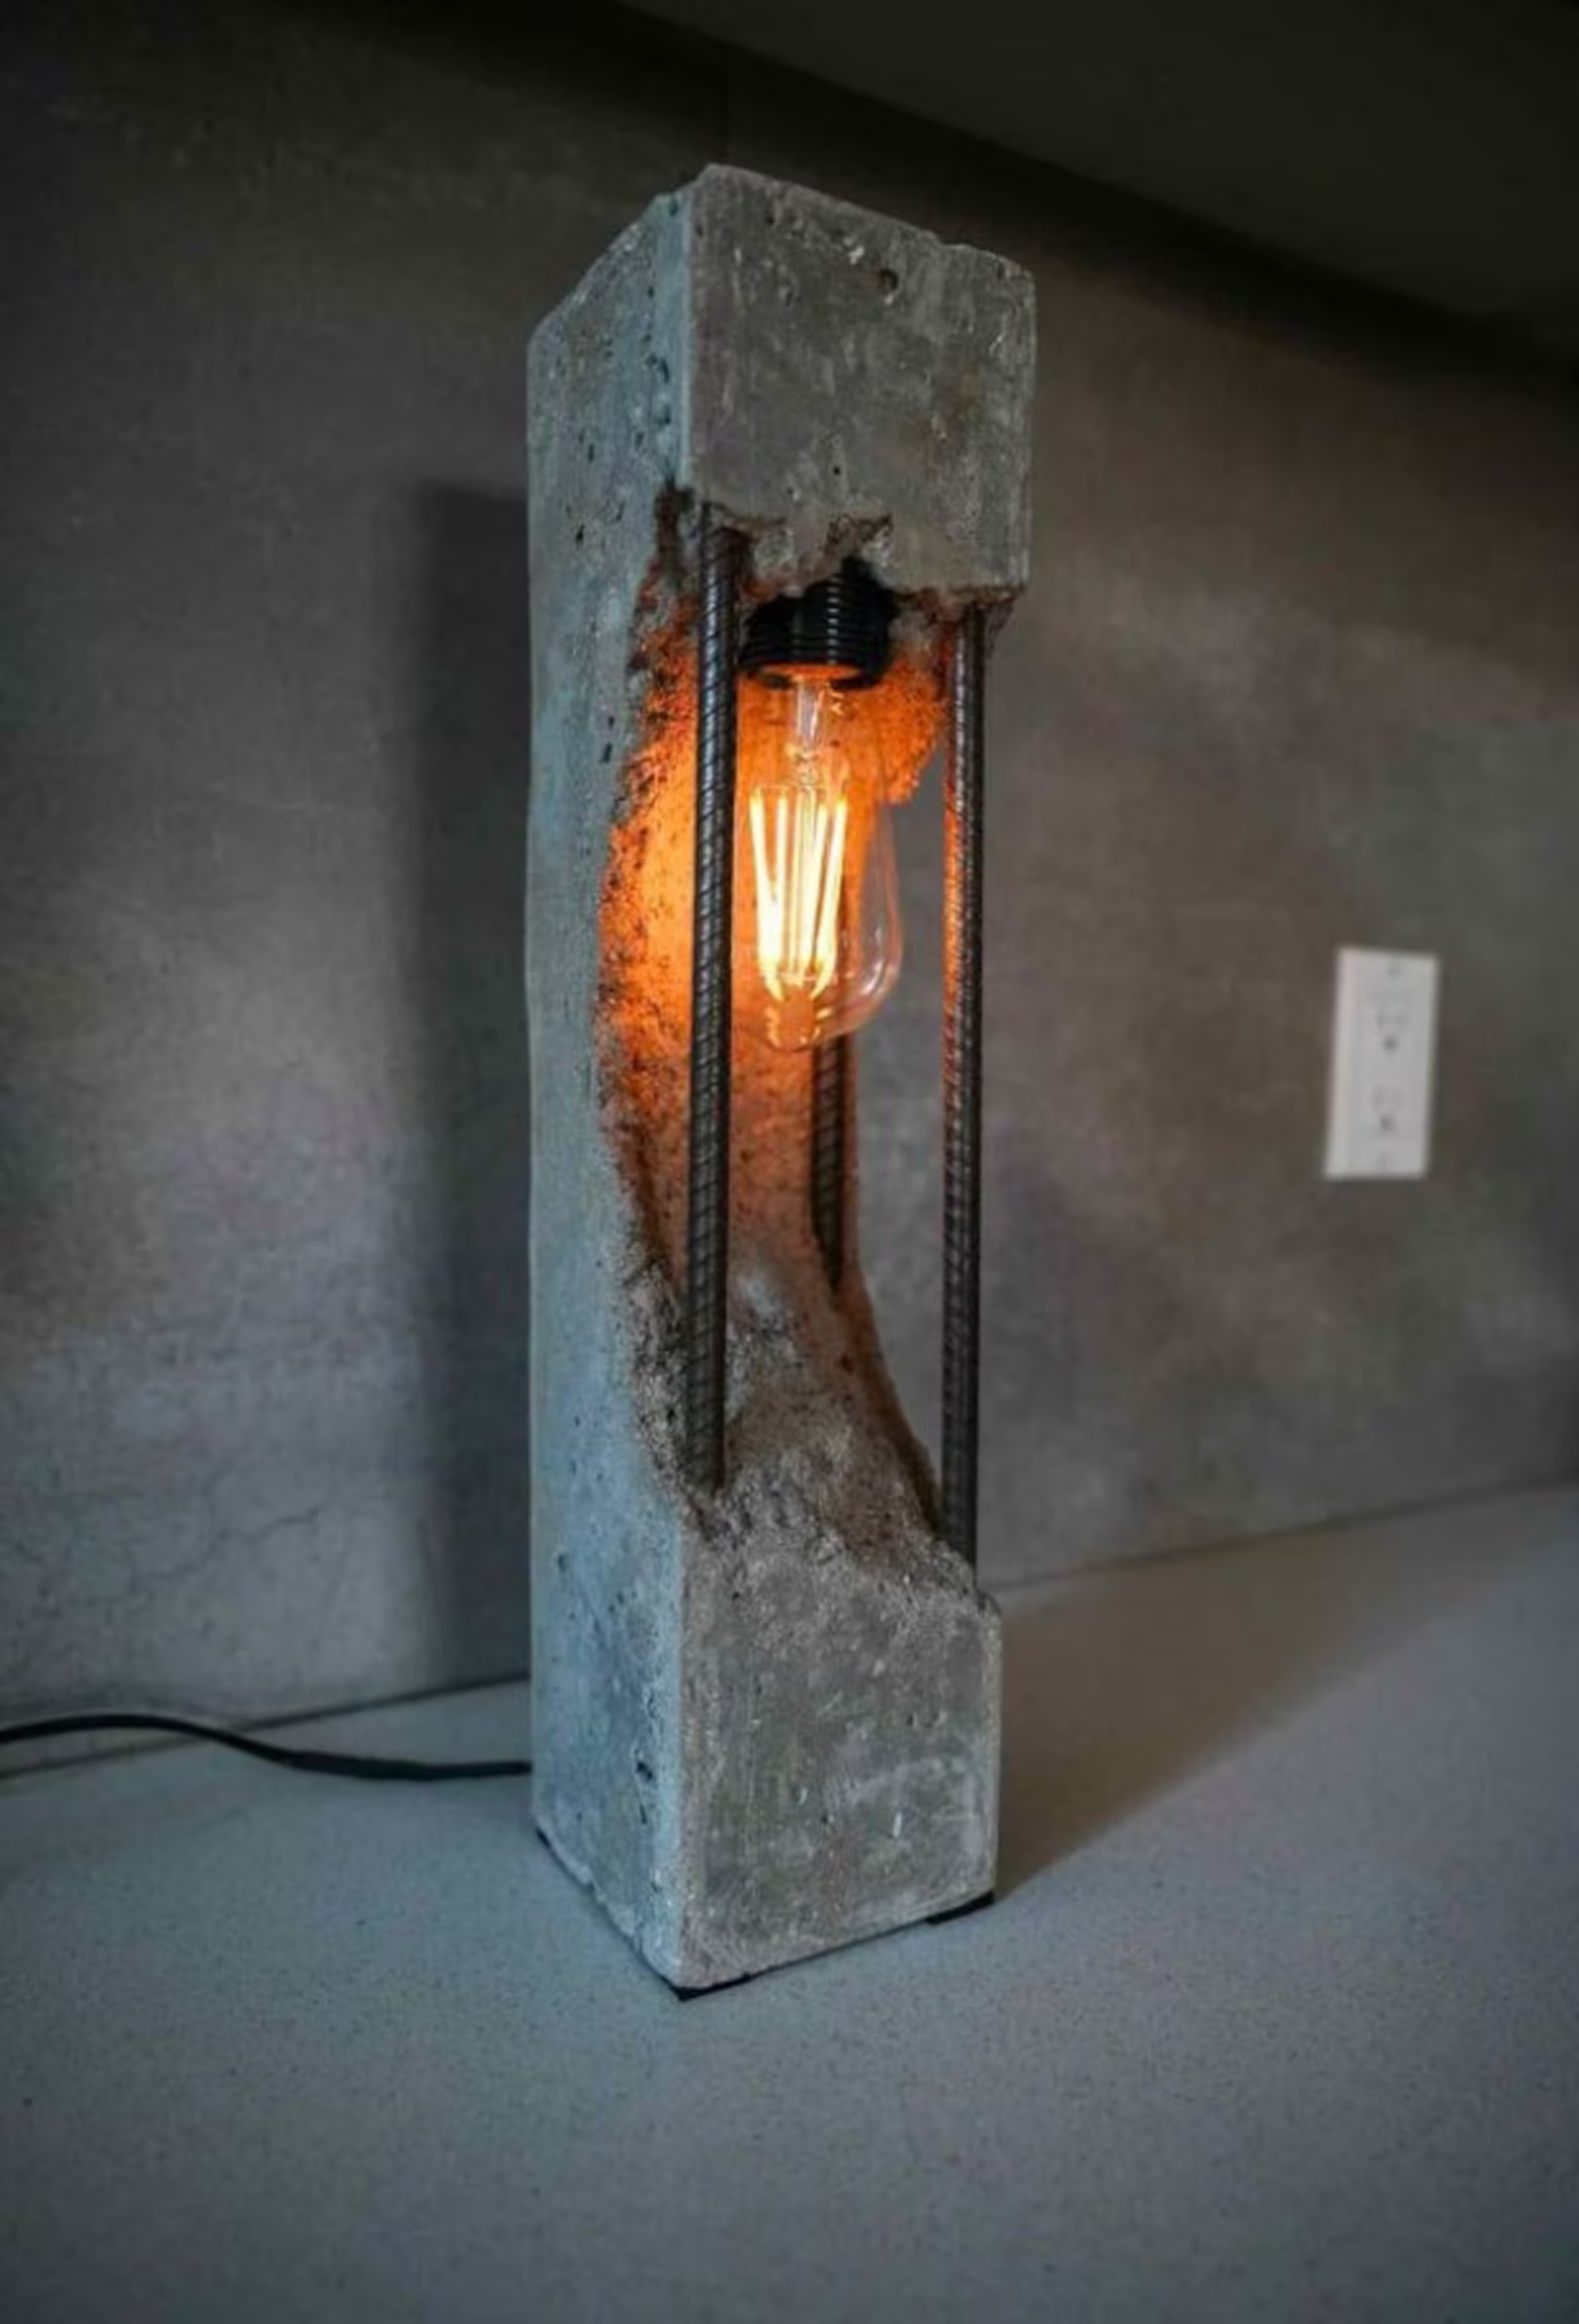
Making a Decaying Urban Concrete Rebar Lamp
To create a decaying urban concrete rebar lamp, you’ll need to build a concrete form, embed rebar and wiring, and then create a decayed look by removing the concrete around the rebar and light fixture. This involves using a mold, pouring concrete, allowing it to set, and then chipping away the concrete to reveal the rebar and light.
Here’s a more detailed breakdown:
1. Preparation and Design:
-
Decide on the lamp’s shape and size:Consider a mold that allows for a decaying look, such as a half-sphere, cylinder, or a more abstract shape.
-
Create a form:You can use melamine, wood, or other materials to create a mold for the concrete.
-
Design the rebar structure:Decide how the rebar will be placed to create the desired “decayed” look.
-
Prepare the light fixture:Ensure the light fixture is waterproof and insulated if it will be directly embedded in the concrete.
-
Plan the wiring:Route the wiring for the light fixture through PVC pipe or a similar channel to protect it from concrete.
2. Constructing the Lamp:
-
Set up the form:Place the rebar structure within the mold, ensuring it’s stable and won’t shift during pouring.
-
Embed the light fixture:Wrap the light fixture in a plastic bag or use another method to protect it from concrete and wet sand.
-
Pour the concrete:Mix concrete according to instructions and pour it into the form, ensuring it fills the mold completely and surrounds the rebar and light fixture.
-
Allow the concrete to cure:Let the concrete set according to the manufacturer’s instructions.
3. Creating the Decayed Look:
- Remove the form: Once the concrete is fully cured, carefully remove the form.
- Chisel away concrete: Use a chisel, hammer, or other tools to carefully remove the concrete surrounding the rebar and light fixture to create the desired “decayed” look.
- Clean up and finish: Brush off any loose debris and sand any rough edges. Consider adding a patina or other finish to enhance the “decayed” look.
4. Electrical Connections:
- Wire the lamp: Connect the wiring to the light fixture, ensuring it’s securely fastened and insulated.
- Create a power source: Decide on a plug-in cord or a hard-wired connection for the lamp.
- Test the lamp: Ensure the lamp works correctly before final installation.
Materials You’ll Need:
- Concrete (mix with cement, sand, and gravel)
- Rebar
- Light fixture (LED bulb, socket)
- Electrical wiring and connectors
- PVC pipe or similar for wiring protection
- Mold (melamine, wood, etc.)
- Tools: chisel, hammer, sander, etc.
Tips for Success:
- Practice with small batches of concrete: before pouring into the final form.
- Use wet sand to create voids: for the “decayed” look instead of chiseling.
- Consider using a patina or other finish: to enhance the aged look.
- Ensure all electrical connections are secure and insulated .
- Take your time and be patient: with the chipping and finishing process.